How to Make a Vaporwave Spotify Canvas from a Photo
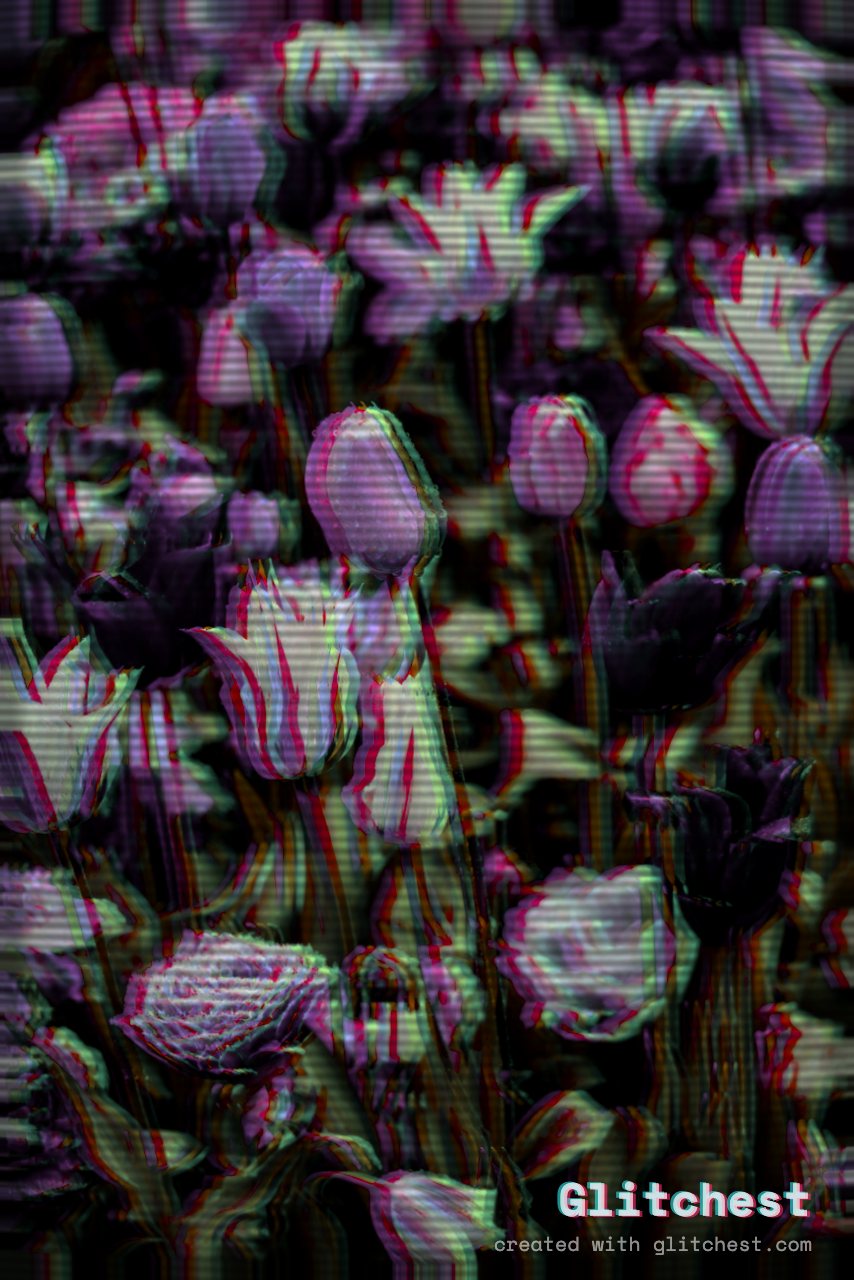
Transforming a static photo into an eye-catching looping video is one of the most effective ways to make your track stand out on Spotify. With a blend of dreamy pastel tones, nostalgic CRT textures, and subtle analog distortions, a vaporwave aesthetic creates an immersive visual companion to your music. In this step-by-step guide, you will learn how to turn any still photo into a motion-filled vaporwave Spotify Canvas using Glitchest—completely free and directly in your browser.
Why Vaporwave Works So Well for Spotify Canvases
Spotify Canvas is a vertical 3 to 8-second video loop that plays on repeat while listeners play your song on the mobile app. Because the format is short and silent, high-impact aesthetic visuals tend to perform best. The vaporwave aesthetic—characterized by retro-futuristic 1980s neon hues, statue motifs, analog tape noise, and surreal lo-fi atmospheres—instantly hooks the viewer's eye without distracting from the music.
Even if you only start with a single promotional image or artwork, you do not need complex motion design software to bring it to life. By combining color shifts, VHS scanlines, and timed digital artifacts, you can turn a still photograph into a continuous video loop. If you are also working on cover graphics, check out our guide on creating glitch album cover art to keep your visual branding consistent across all platforms.
Spotify Canvas Technical Requirements
Before editing, make sure your project aligns with Spotify's official Canvas upload specifications:
- Aspect Ratio: 9:16 vertical orientation (typically 1080x1920 pixels).
- Duration: Exactly 3 to 8 seconds.
- File Format: MP4 video (Spotify strips audio automatically, so focus purely on visual timing).
- Watermarks: Clean visuals only (no brand logos or text ads).
Step-by-Step: Turning Your Photo into a Vaporwave Canvas
Step 1: Load Your Photo in Glitchest
Head over to the Glitchest editor in your desktop or mobile browser. Click or drag your source photograph into the canvas area. Since Glitchest runs fully client-side using WebCodecs technology, your high-resolution artwork is processed locally on your device without waiting for slow server uploads or compromising privacy.
Step 2: Set the Vaporwave Color Palette with Time Machine
Vaporwave heavily relies on distinctive color grading—magenta, cyan, deep purples, and faded retro contrast. Locate the Time Machine dial in the control panel. Rotating the dial back to vintage film and tape eras softens your photograph's harsh highlights, desaturates modern digital tones, and introduces soft, nostalgic warmth reminiscent of analog media.
Step 3: Build Your Effect Timeline with Effect Boxes
To turn your still photo into an active video edit, you will place animated effect boxes on the multi-lane timeline. Drag a base preset box—such as VHS, Y2K, or Signal Jam—onto the first lane of your timeline and stretch its length to match your desired loop duration (for example, 6 seconds).
Instead of relying on keyframe curves, Glitchest uses intuitive effect boxes. To make the video feel alive and evolving over the loop, click on your placed effect box and set smooth fade-in and fade-out durations. This creates a soft transition where scanlines, chromatic shifts, and lo-fi textures bloom gradually over your photo before gently tapering off.
Step 4: Layer Glitch Hits and Masking Effects
To add dynamic contrast to your vaporwave canvas, layer extra effect boxes on secondary timeline lanes:
- Short Hard Glitches: Place a tiny Datamosh or Cyber Glitch effect box on lane two that lasts only 0.3 seconds. Position it mid-way through your clip to create a quick, rhythmic signal pop.
- Selective Effect Masking: If you want to keep a central subject (like a portrait or artist logo) clean while glitching the background, select an effect box and apply a rectangle or ellipse mask. Position the ellipse over your subject and invert the mask so only the surrounding environment takes on retro CRT noise.
- Multi-Lane Blending: Stack a faint Broken Monitor box over a VHS box. Adjusting the opacity on overlapping effect boxes blends color separation and analog noise seamlessly.
Step 5: Export Your Spotify-Ready MP4
Preview your timeline loop to ensure the animation flows cleanly from end to start. When you are satisfied with the retro aesthetic, click Export MP4. Glitchest renders your video instantly, leaving you with an optimized, lightweight file ready to upload directly into your Spotify for Artists portal.
Tips for Creating the Perfect Seamless Vaporwave Canvas
To make your looping video feel effortless, keep these best practices in mind:
- Keep Motion Subtle: Heavy distortion across the full 8 seconds can cause visual fatigue. Use fade-ins on your timeline boxes so the effect breathes naturally.
- Match Track Tempo: Place short glitch effect boxes at interval points that correspond to the beat or transition points of your song.
- Prioritize Contrast: Vaporwave aesthetics rely on bold pink and cyan lighting. Combine CRT scanline effects with light chromatic aberration to emphasize bright edges on dark backgrounds.
Try it now — add this look to your own clip, free and in your browser.
Open the editor →FAQ
What are the specifications for a Spotify Canvas video?
Spotify Canvas requires a vertical 9:16 aspect ratio (1080x1920 pixels), a duration between 3 and 8 seconds, and an MP4 video format with no audio.
Can I create a looping Spotify Canvas using a single static photo?
Yes, by loading a still photo into Glitchest and placing animated effect boxes on the timeline, you can create a seamless dynamic video clip.
Do I need to create an account or pay to export my Canvas?
No, Glitchest is completely free, requires no account sign-up, and exports full-quality MP4 videos directly inside your browser.