How to Make a Vaporwave Video Edit for Free
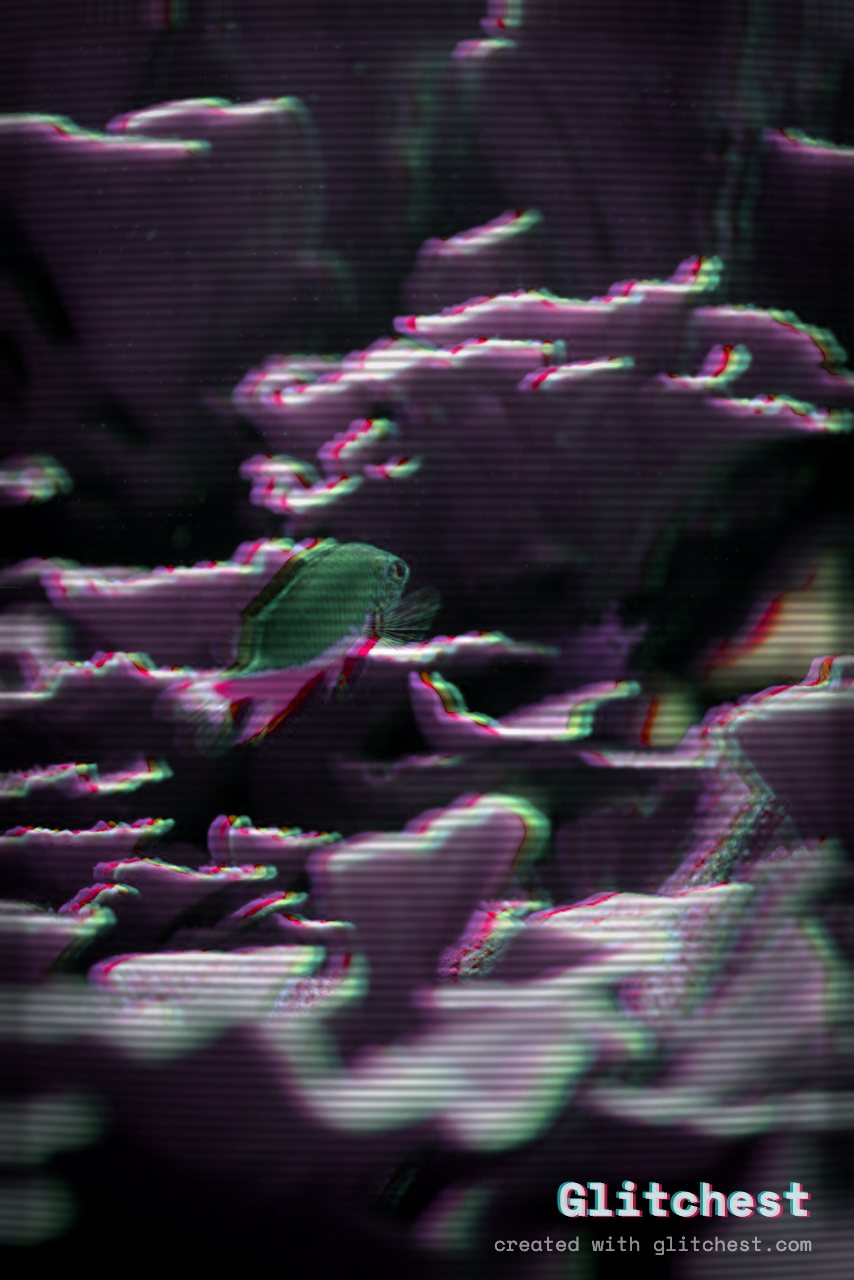
Vaporwave is more than just a musical genre—it is an immersive visual aesthetic defined by 1980s and 1990s nostalgia, low-fidelity tape textures, neon hues, and surreal glitch artifacts. If you want to learn how to make a vaporwave video edit for free, you do not need expensive video editing software or complex desktop plugins. With the right browser-based editor, you can transform ordinary video footage into a dreamy, retro-futuristic masterpiece in just a few clicks.
Understanding the Vaporwave Visual Aesthetic
The vaporwave visual style emerged in the early 2010s as an homage to early consumer video technology, Japanese anime, late-20th-century computer graphics, and shopping mall culture. Creating an authentic vaporwave edit requires combining several core visual elements:
- Analog Video Artifacts: Tape noise, VHS tracking errors, color bleeding, and CRT monitor scanlines give footage an authentic retro feel.
- Retro Color Grading: Magenta, cyan, washed-out purples, and pastel tones mimic early digital and magnetic tape color profiles.
- Glitch & Datamosh Transitions: Sudden displacement of pixels, digital frame corruption, and signal loss add a nostalgic cybernetic edge.
- Time Distortions: Slowed-down frames and frame rate degradation evoke the slowed-down samples characteristic of vaporwave music.
While traditional video editors require manual color grading and heavy third-party plugins, modern browser tools simplify the process dramatically. By using the editor at Glitchest, you can apply these exact effects directly inside your web browser without uploading files to an external server.
Step-by-Step: How to Make a Vaporwave Video Edit for Free
Follow this simple numbered guide to turn any clip or image into an aesthetic vaporwave video edit using Glitchest.
- Import Your Footage Locally:
Open Glitchest in your web browser and drag your video file into the canvas. Because Glitchest processes media entirely on your device using client-side rendering, your file stays 100% private and uploads instantly without server bandwidth delays.
- Apply a Nostalgic Preset Base:
Start your design by selecting a preset from the effect library. The VHS preset instantly introduces soft analog tape fuzz and color displacement, while the Y2K preset provides vibrant retro contrast. If you want to compare similar stylistic styles, check out our guide on how to get the Y2K aesthetic video effect for detailed color-matching tips.
- Dial in the Retro Time Machine Look:
Use the built-in Time Machine film-look dial to age your video clip dynamically. Turning this control subtly shifts color balance, softens sharp digital edges, and mimics the warm saturation of vintage magnetic tape.
- Animate Glitch Intensity with Effect Boxes:
Vaporwave edits thrive on rhythmic visual disruptions. Use the effect boxes on the timeline at the bottom of the interface to place glitch intensity over time. You can lay down a long, gently faded box for subtle, steady analog drift during calm moments and drop short boxes to spike the distortion when beat drops or scene transitions occur.
- Isolate Aesthetic Masking Regions:
If you only want certain portions of your video to glitch—such as a glowing neon sign or a central character—use the rectangle or ellipse masking tool. Masking allows you to keep background elements clean while adding heavy video corruption to targeted focal points.
- Export Your Final Video in High Quality:
When your edit is ready, click the export button. Glitchest uses hardware-accelerated WebCodecs to render high-definition MP4 files directly to your device. If you only need a high-resolution graphic for social media thumbnails or cover art, use the Save Frame button to grab a crisp PNG snapshot instantly.
Tips for Enhancing Your Vaporwave Video Edits
To make your vaporwave edits look professional and captivating on platforms like TikTok, Instagram Reels, and YouTube, keep these creative techniques in mind:
Match the Tempo of Your Soundtrack
Vaporwave music often features slowed-down, pitch-shifted samples with heavy reverb. Align your effect boxes with ambient snare hits, synth chords, or bass drops. Synchronizing your video's color shifts and tracking glitches with the audio creates a hypnotizing viewing experience.
Combine Tape Degradation with Chromatic Aberration
Layering multiple subtle effects produces a richer visual texture than applying a single heavy glitch filter. Combine light CRT scanlines with subtle chromatic aberration (color fringe along high-contrast edges) to replicate the look of an old consumer television set playing recorded magnetic tape.
Use Retro Framing and Aspect Ratios
Consider cropping your media into a 4:3 square aspect ratio to imitate classic CRT televisions from the 1980s and 1990s. Paired with soft VHS noise, this framing immediately signals a retro aesthetic to viewers before the video even plays.
Creating stylized vaporwave video edits no longer requires expensive software or hours of rendering time. By combining Glitchest's local browser performance, preset effects, the effect-box timeline, and masking controls, you can craft original retro visual edits entirely for free in minutes.
Try it now — add this look to your own clip, free and in your browser.
Open the editor →FAQ
What makes a video edit look vaporwave?
Vaporwave video edits blend 1980s and 1990s retro aesthetics, featuring CRT tape distortion, neon color palettes, pastel hues, scanlines, and subtle VHS tracking glitches.
Do I need to install software to make a vaporwave video edit?
No, you can create a vaporwave video edit directly in your browser using Glitchest without installing software, creating an account.
Can I export vaporwave videos in high quality for free?
Yes, Glitchest uses in-browser WebCodecs technology to process your media locally, allowing you to export full MP4 video files and PNG still frames instantly.