Scanlines Effect in After Effects (And the Free Shortcut)
Creating realistic scanlines in After Effects typically requires stacking multiple adjustment layers, Venetian Blinds filters, and complex blending modes. While Adobe After Effects gives you deep compositing control, building animated CRT scan lines from scratch can quickly bog down your timeline previews. Below, we cover the standard After Effects scan lines workflow alongside a zero-install browser alternative on Glitchest.
 BEFORE
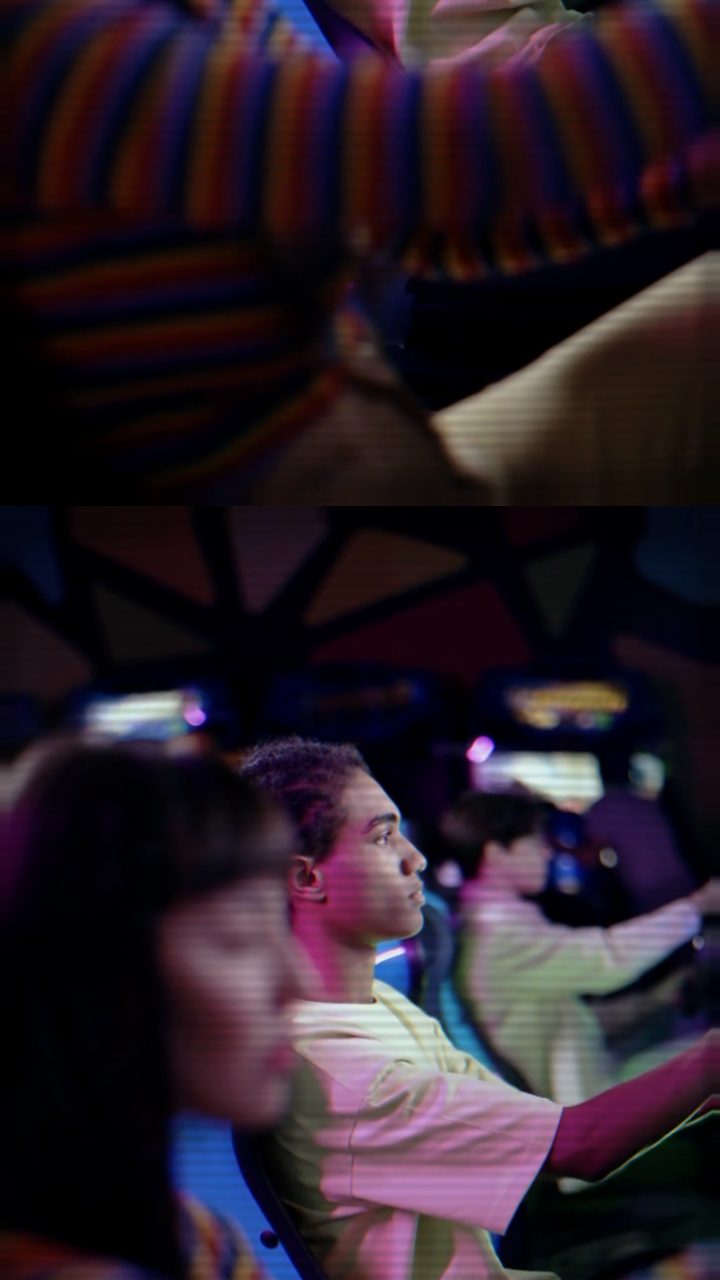 AFTER
AFTERMethod 1: Creating Scanlines in Adobe After Effects
After Effects is the industry standard for motion graphics, and building scanlines natively allows you to composite raster lines into complex 3D scenes or motion graphics templates. Here is how to create a clean scanline layer from scratch:
- Create an Adjustment Layer: Go to Layer > New > Adjustment Layer (or press Ctrl+Alt+Y / Cmd+Option+Y) and place it above your background clip in the timeline stack.
- Apply the Venetian Blinds Effect: Search for Venetian Blinds in the Effects & Presets panel and drag it onto your adjustment layer.
- Rotate and Scale the Lines: Set the Direction parameter to 90 degrees so the cuts run horizontally across your frame. Lower the Transition Completion setting to around 10% to 25% depending on how thick you want your raster lines to appear. Set the Feather property to 1 or 2 pixels for softer CRT phosphor edges.
- Adjust Blending Modes and Opacity: Change the adjustment layer's blend mode to Overlay, Soft Light, or Multiply. Reduce the layer opacity to around 30%–50% so the scanlines stay subtle without washing out your clip.
- Add Channel Distortion (Optional): To mimic authentic monitor phosphor bleed, apply Shift Channels or chromatic aberration plugins to split your red and blue color channels slightly across the frame.
This workflow gives motion designers deep flexibility, particularly if you are animating UI interfaces or keyframing complex camera movements. However, if you are working on a tight deadline, turning to dedicated web technology in the editor offers an immediate alternative without needing heavy render queues.
Method 2: The Free Browser Shortcut (Glitchest)
If you need to quickly process footage for social media, music videos, or quick teasers, launching a full digital audio/video workstation can feel like overkill. Glitchest runs entirely inside modern web browsers using WebCodecs and WebGL. There are no software installs, no account registrations, and your original media never leaves your local hardware.
To recreate an authentic retro monitor look instantly, open the editor and start with the CRT TV preset. This preset is specially designed to capture physical tube monitor physics in a single click, bringing together line rasterization, electron beam bloom, and color fringing without manual layer stacking.
Step-by-Step Scanline Workflow in Glitchest
- Load Your Media: Drag and drop your MP4 video file or photo directly into the browser viewport. Processing happens locally on your GPU.
- Select the CRT TV Preset: Click on the preset menu and choose CRT TV. This immediately turns your footage into a glowing cathode-ray display complete with scanlines and curvature.
- Nudge Settings to Taste: Fine-tune the aesthetic using intuitive sliders:
- Increase or decrease Scanlines to adjust the physical line density across your image.
- Nudge RGB Split to pull red and blue color channels apart along high-contrast edges.
- Adjust CRT Curve + Glow to bend the image edges into a curved glass tube while boosting phosphor highlights.
- Raise Flicker slightly to simulate 60Hz power hum and signal instability.
- Dial in Vertical Roll (TV) if you want the classic vertical sync drop of an untuned broadcast feed.
- Arrange Effect Boxes on the Timeline: Instead of drawing timeline curves, Glitchest uses an intuitive effect-box timeline. Drag an effect box over your clip, adjust its duration, and set fade-in or fade-out handles to transition the scanline effect smoothly in and out of your scene. You can stack short effect boxes on multiple lanes to trigger sudden glitch spikes.
- Export Fast: Click export to render your final MP4 video via WebCodecs or capture PNG stills using the Save Frame tool.
Combining Scanlines with Other Retro Styles
Scanlines rarely exist in isolation on real analog hardware. For richer video edits, explore combining CRT scanlines with signal degradation and color aging. You can dial back modern dynamic range using our CRT TV look guide or learn how to pair vertical scan distortions in our guide to adding scanlines to video.
If your project calls for specific focal areas—such as a security camera monitor inside a larger scene—you can use Glitchest's built-in rectangle or ellipse masking to constrain the scanline effect to a designated area on screen. Add subtle warmth using the Time Machine film dial to sell the vintage cathode look end-to-end in seconds.
Recreating the After Effects Scanlines Look in Your Browser
In a traditional motion design workflow, building an After Effects scanlines overlay involves generating fine horizontal grids, applying animated offset expressions for vertical rolling, and blending the result over your source footage. While effective, rendering these line patterns inside heavy composition trees can slow down real-time playback.
You can replicate the exact aesthetic of CRT scan lines instantly using Glitchest right inside your browser without installing plugins or setting up pre-comps:
- Load your media into the canvas—your footage processes locally with no file uploads or account required.
- Click the scanline or CRT preset chips to place an effect box onto your timeline.
- Fine-tune line density, jitter, and brightness using the dedicated 0–100 parameter knobs.
- Drag the timeline box fade handles to smoothly transition the scan lines in and out over specific moments.
When you are satisfied with the look, click Export to download an MP4 or hit Save Frame for a crisp PNG still to drop straight into your final edit.
The exact settings
Start from the CRT TV preset, then set:
| RGB Split | 18 |
| Brightness | 53 |
| Contrast | 58 |
| Scanlines | 40 |
| Flicker | 10 |
| CRT Curve + Glow | 74 |
| Vertical Roll (TV) | 6 |
Everything else stays at its default — tweak it, then copy your own look as JSON or a link from inside the editor to share it.
Try it now — add this look to your own clip, free and in your browser.
Open the editor →FAQ
How do you create scanlines natively in After Effects?
You can create scanlines in After Effects by applying a Venetian Blinds transition or Grid effect to an Adjustment Layer, then tweaking completion and blend modes.
Why use a browser shortcut instead of rendering in After Effects?
A browser tool processes scanline effects instantly on your GPU using WebCodecs, eliminating heavy project setups and long render queues for quick social video edits.
Can I export high-quality video with CRT scanlines for free?
Yes, Glitchest renders MP4 video files directly in your browser with full resolution support, as well as PNG still captures via Save Frame.
How do you create scan lines in Adobe After Effects?
You can create scan lines in After Effects by adding an adjustment layer and applying the Venetian Blinds or Grid effect, then setting the layer's blend mode to Overlay. If you want an instant result without manual setup, you can also add retro scanlines directly in your browser using Glitchest at /app/.
What is the easiest built-in effect for scanlines in After Effects?
The Venetian Blinds effect is the most common native method—set the transition completion to around 10–20% and change the direction to 90 degrees for horizontal lines. For a faster workflow without opening After Effects, Glitchest generates authentic CRT and VHS scanlines online for free.
Can you generate realistic CRT scanlines without After Effects?
Yes, you can apply animated CRT scanlines, phosphor glow, and retro screen textures directly in your browser using Glitchest at /app/. The tool runs entirely on your device with no uploads or software installation required.