How to Add VHS Effect in CapCut (+ Free 1-Click Tool)
Learning how to add a VHS effect in CapCut is one of the easiest ways to give digital clips authentic 80s tape warmth, static, and color bleeding. While CapCut includes built-in retro presets, you can also craft stylized analog textures directly in your browser without downloading extra software. Here is how to apply the CapCut VHS effect, along with an instant workflow for deeper retro control.
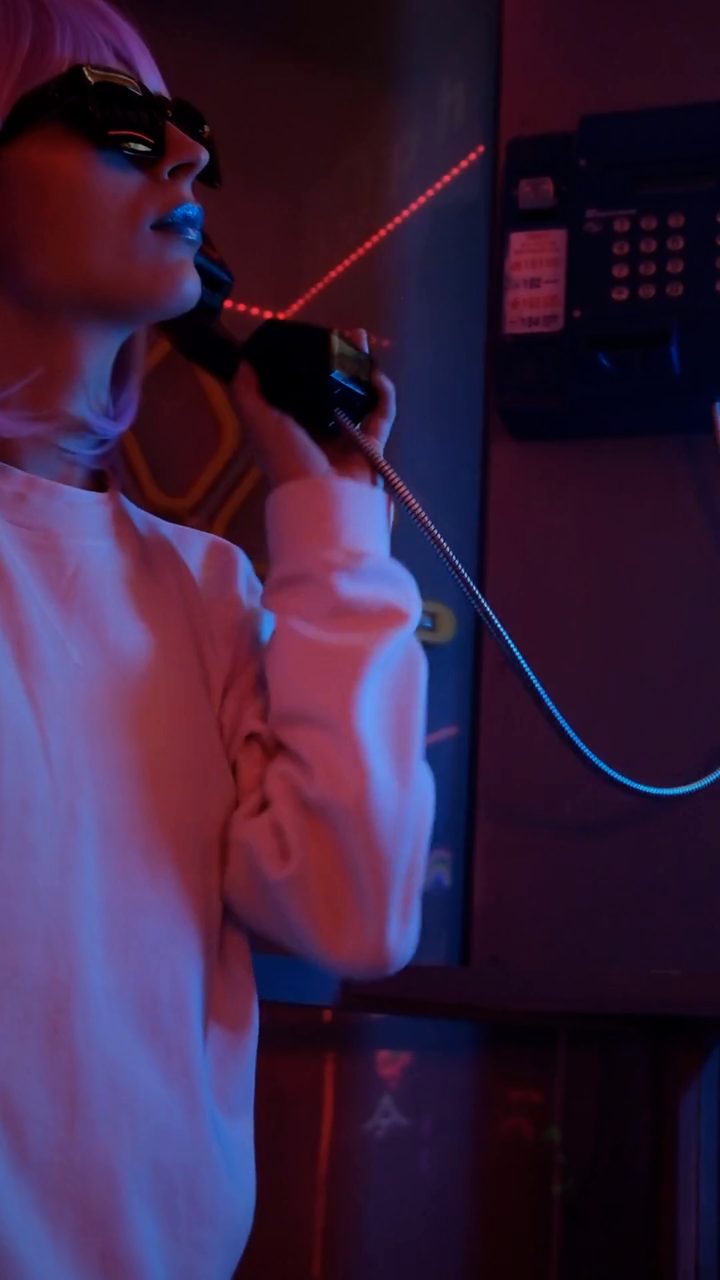 BEFORE
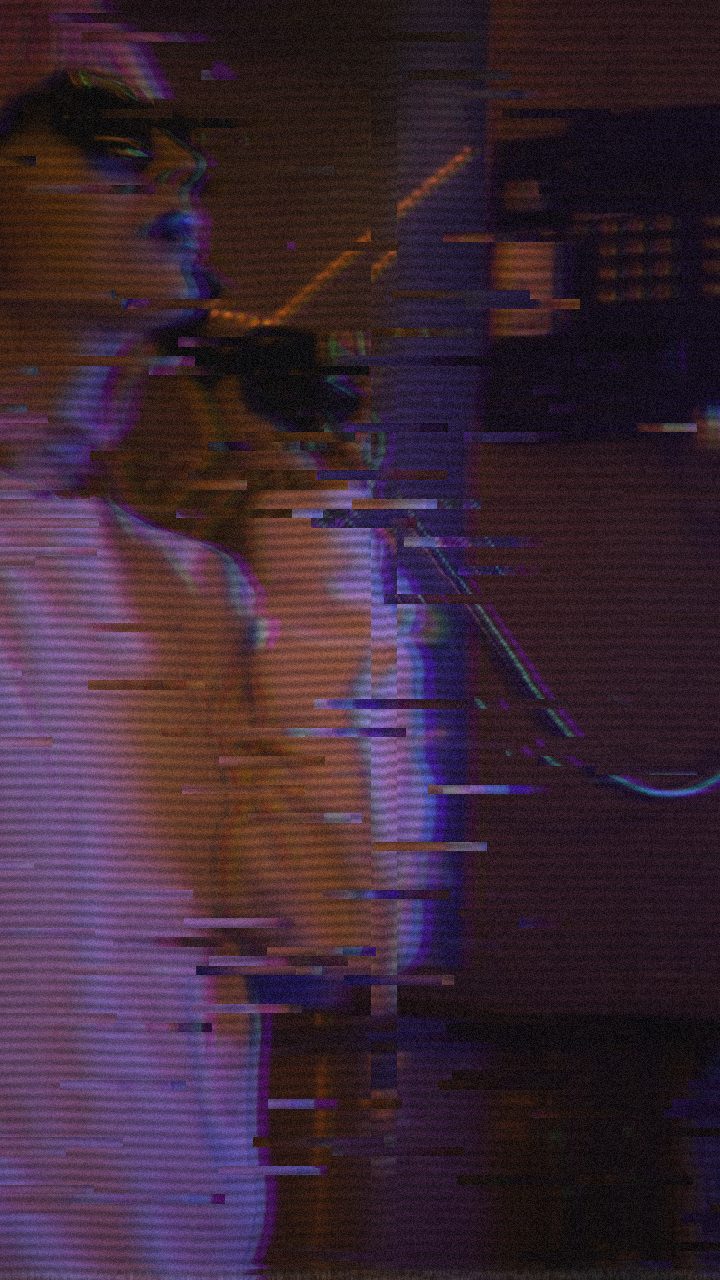 AFTER
AFTERHow to Make a VHS Effect in CapCut
CapCut provides a robust set of video effects and color adjustment tools across its mobile and desktop applications. To build a classic videocassette aesthetic directly within CapCut, follow these steps:
- Import your video: Open CapCut, start a new project, and drag your media onto the primary video timeline track.
- Apply retro video effects: Navigate to the Effects tab on the top menu. Select Video Effects and filter by the Retro or VCR categories. Look for overlays like VHS I, Retro DV, or VCR Noise and drag the effect directly onto a secondary track above your video clip.
- Adjust intensity and noise: Click on the applied effect block to reveal its parameter adjustments in the top-right inspector window. Fine-tune sliders like Color Noise, Filter Intensity, and Sharpen to balance tape degradation against clip clarity.
- Add RGB split and color tinting: To emulate analog tape bleeding, head back to Effects and search for Chromatic Aberration or Color Drift. Place this effect over your clip and lower its range to create subtle red and blue channel misalignment. Optionally, adjust the video clip's color temperature toward warmer tones and drop contrast slightly to match aged magnetic tape.
The Free In-Browser Shortcut: Glitchest
If you need to quickly stylized a clip without launching a desktop application or logging into an account, the editor at Glitchest delivers authentic retro analog processing right inside your web browser. Because processing runs locally on your device via modern web standards, your media is never uploaded to an external server.
Applying the VHS Aesthetic in One Click
Rather than manually combining separate filters, Glitchest provides a dedicated starting point designed specifically for tape distortion:
- Drop your file into the editor: Open the app in any desktop or mobile browser and load your video or static image.
- Select the VHS preset: Click the pre-configured VHS preset under the library tab. This immediately enables a balanced combination of scanlines, subtle color shifting, atmospheric noise, and physical tape jitter.
- Tweak parameters to taste: Use intuitive knobs to customize the output. Increase RGB Split for pronounced color displacement, turn up Scanlines and Noise for heavy cathode-ray tube texture, or raise Vertical Shake and Horizontal Wave to simulate damaged tracking headers on an old VCR playback head.
- Enhance aging with the Time Machine knob: Dial the Time Machine control to soften digital crispness and introduce soft warmth reminiscent of an authentic faded home video look.
Arranging Effects on the Timeline
Glitchest uses an intuitive block-based timeline structure that keeps editing fast and non-destructive:
- Place Effect Boxes: Drag effect boxes onto dedicated timeline lanes directly over the sections of your clip where you want retro interference to appear.
- Drop in Short Hard Hits: Position short effect blocks onto a lane to create sudden tracking drops or quick static bursts on key beats.
- Set Fades and Layering: Adjust the fade-in and fade-out durations on each box for smooth transitions, or stack multiple boxes vertically across different lanes to layer subtle noise under heavy glitch hits.
Exporting Your Final Edit
Once your video look is dialed in, click export to generate a high-quality MP4 video powered by WebCodecs rendering technology, or capture high-resolution static PNG frames instantly using the Save Frame function.
How to Add a VHS Effect in CapCut
To apply a native CapCut VHS effect, open your timeline, select Effects from the bottom navigation bar, and tap Video Effects. Scroll sideways through the categories to find Retro, where CapCut stores multiple tape emulations like VHS, VHS II, and VHS III.
Tap your chosen preset to drop it onto the timeline. You can then tap the effect clip to adjust sliders for color noise, atmosphere, and filter intensity, or drag the edges of the effect bar across the timeline to cover specific scenes.
If CapCut's automated filters feel too rigid, you can also dial in custom tape artifacts using Glitchest right in your web browser. The free in-browser editor processes everything on your device—nothing uploads and no account is needed—allowing you to pick preset chips, fine-tune 0–100 knobs, adjust timeline effect boxes with fade handles, and hit Export (MP4) or Save Frame (PNG).
The exact settings
Start from the VHS preset, then set:
| Strength (master) | 46 |
| Glitch Rate | 18 |
| Glitch Width | 24 |
| Block Size | 40 |
| Chaos | 34 |
| Datamosh (trail) | 14 |
| Horizontal Wave | 44 |
| Vertical Wave | 20 |
| Vertical Shift | 10 |
| Vertical Shake | 12 |
| RGB Split | 46 |
| Hue Shift | 7 |
| Sepia | 12 |
| Noise | 30 |
| Scanlines | 56 |
| Flicker | 16 |
Everything else stays at its default — tweak it, then copy your own look as JSON or a link from inside the editor to share it.
Try it now — add this look to your own clip, free and in your browser.
Open the editor →FAQ
How do you add a native VHS effect in CapCut?
In CapCut, open the Effects tab, search for 'VHS' or browse the Retro category, apply the filter to your timeline track, and adjust parameters like Chromatic Aberration and Grain in the details panel.
Why use an in-browser tool like Glitchest instead of CapCut for retro video edits?
Glitchest requires no software download, registration, or cloud upload, processing your clip entirely in your browser using local hardware for instant, private retro renders.
Can I export high-quality MP4 videos with a VHS aesthetic for free?
Yes, both CapCut and Glitchest allow you to export high-definition MP4 files with customized analog VHS effects without payment or compulsory watermarks.
How do I add a VHS effect to a video in CapCut?
Open your video in CapCut, tap "Effects" > "Video Effects", navigate to the "Retro" or "Glitch" category, and select one of the VHS presets. Drag the effect bar along your timeline and use the "Adjust" tool to tweak intensity, color, and grain.
Where is the VHS effect located in CapCut?
CapCut's built-in VHS overlays are found under the "Retro" section within the Video Effects menu. If you prefer a dedicated retro tool without downloading software, you can also generate customizable VHS scanlines and noise instantly at Glitchest (/app/).
How can I make a realistic custom VHS effect in CapCut?
To build an authentic VHS look from scratch in CapCut, lower your clip's contrast, slightly shift the color temperature, and layer a chromatic aberration effect over subtle film grain. For an instant shortcut, you can run your footage through the Glitchest browser editor at /app/ to apply authentic tape distortion and color bleeding.